| < Previous page | Next page > |
Step 3 - Setting up the logging clients
This section shows how to attach to printers in the logger client configuration utility and to specify which virtual printers (containers) to send the logs to.
1 - On the client machines open the Client Logger configuration utility (Start/Programs/Print Logger/Logger configuration).
2 - Make sure that the logging server that you have created appears in the 'Logging servers' pane. If it does not refer to Q1 in Troubleshooting
3 - Click on add a printer.
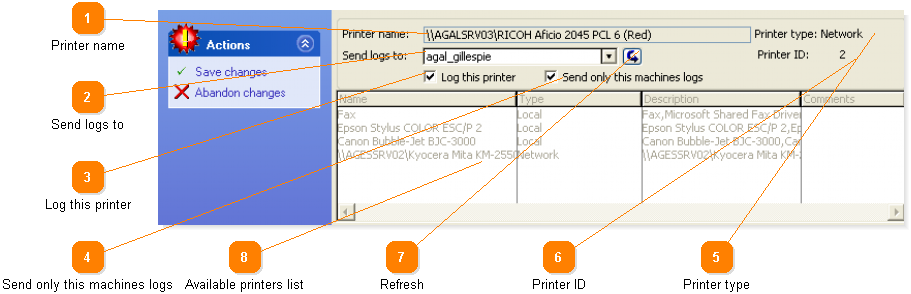
4 - Double-click on the printer you wish to log from the printers list. The printer name will now appear in the 'Printer name' field.
5 - Specify which server/virtual printer you wish to send logs to from the 'send logs to' drop down list. ( If you do not see any servers in the list, refer to Q1 in the troubleshooting topic)
6 - When you are satisfied with your settings, click on Save changes.
7 - Continue until you have added all the printers that you wish to log.
8 - Restart the client logging service when prompted to start the actual logging of the new printers.
9 - Send some test prints to verify that logs are being sent and received.
10 - Set up users, groups and charges on the logging server (Printer Squirrel). Refer to the help in Printer Squirrel for more details on how to do the effectively.
Below is an detailed description of all the fields and their properties.
|
|
|
|
|
|
|
|

 This is the Windows "long" name of the printer. When adding a printer select the printer to log in the list box by double-clicking on it. This entry is read-only.
 Click on the drop-down button to get a list of logging servers and their virtual printers to send logs to.
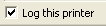 You can uncheck this to temporarily suspend printer logging without actually deleting the printer.
 If this is checked then only this machines print logs will be sent. This is only required in special circumstances - See the configuration section in the help for details.
 This is the way that the printers are connected to this machine.
 The network ID of the virtual printer on a particular logging server that the print logs are being sent to.
 This button refreshes the logging servers list. You may need to do this if your logging servers are across a WAN, or if you have recently added a new logging server.
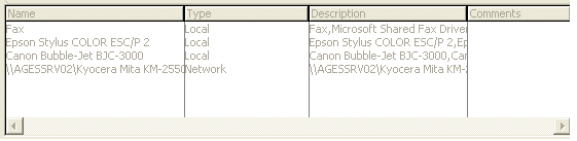 This contains a list of all printers listed on the computer. There are two types - Local (physically connected) and Network (via a print server). When adding a printer to be logged, double-click on a printer in this list to select it. You MUST have administrator rights to the selected printer to perform logging. See under
 | < Previous page | Next page > |